• Skip to primary navigation
  • Skip to main content
  • Skip to primary sidebar
Heather's Homemade Kitchen logo
  • Home
  • All Recipes
  • About
  • Nav Social Menu

    • Facebook
    • Instagram
    • Pinterest
    • YouTube
menu icon
go to homepage
search icon
Homepage link
  • Recipes
  • About
    • Facebook
    • Instagram
    • Pinterest
    • YouTube
  • ×
    Home » Recipes » Breads and Muffins

    Cheesy Corn Muffins

    August 23, 2024 | Updated August 23, 2024 | Heather

    JUMP TO RECIPE RATE RECIPE
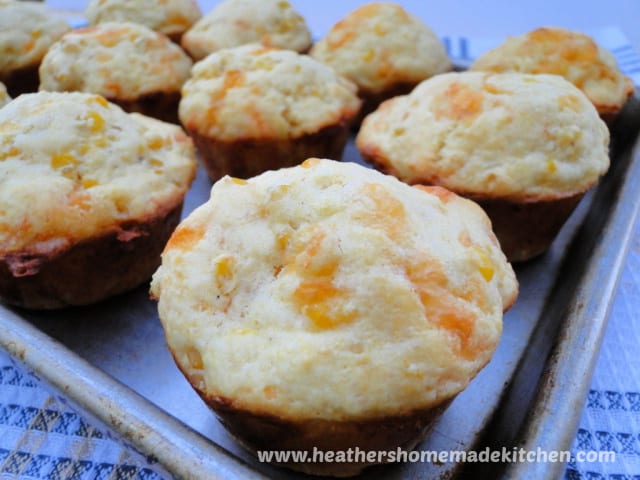
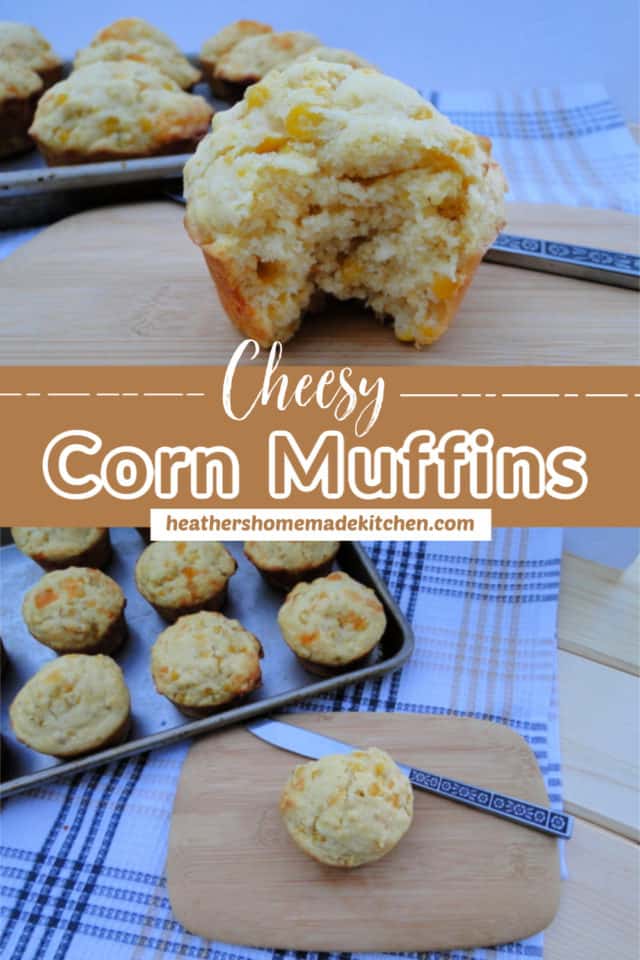
    Close up side view of cheesy corn muffin and top view of muffin cut in half with butter on it.

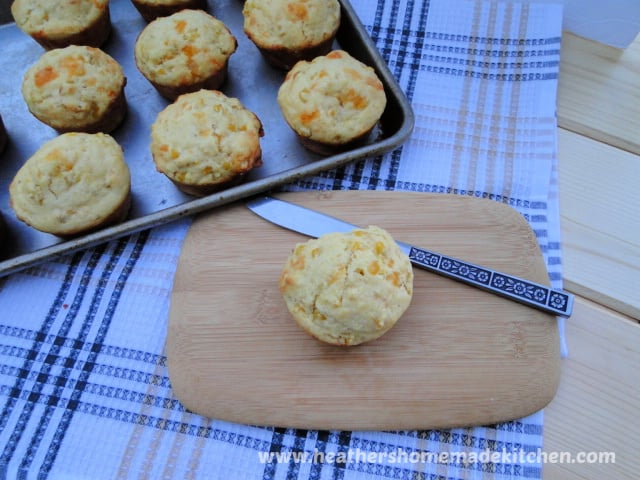
    These Cheesy Corn Muffins are filled with an abundant amount of shredded cheese and corn kernels. A great side dish to any bowl of chili or backyard BBQ meal!

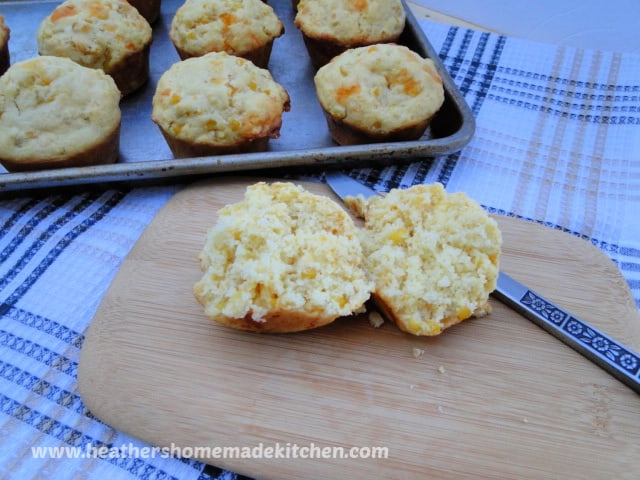
    Top view of cheesy corn bread muffins on wire rack with middle muffin cut in half slathered with butter on cut side.

    This post may contain affiliate links. As an Amazon Associate I earn from qualifying purchases at no extra cost to you. Click HERE to read my policies.

    This post was originally posted on 6/6/2020 and updated on 8/23/2024.

    Why We Love These Cheesy Corn Muffins

    • A simple one bowl recipe.
    • Super easy and fast to whip up and bake. Ready in less than 30 minutes!
    • A comforting side dish that pairs well with so many entrees.
    • Better than any boxed cornbread mix.
    • It's cheesy and delicious!

    Cheesy Corn Muffins Recipe Ingredients

    • Unbleached All Purpose Flour
    • Yellow Cornmeal
    • White Sugar
    • Baking Powder
    • Salt
    • Milk
    • Canola Oil
    • Egg
    • Frozen Corn
    • Shredded Co-Jack Cheese

    Substitution Suggestions

    • All Purpose Flour: White whole wheat flour and whole wheat flour can be used. The muffins will be a bit more dense but still delicious.
    • Yellow Cornmeal: I like to use yellow cornmeal because it yields a nice colored muffin and it's always in stock in the store. However, you can use white cornmeal if you prefer. Both have similar flavors.
    • Milk: Any type of milk can be used. I use 2% cows milk because it's what my family drinks. You can use what you drink. Whole milk, buttermilk and unsweetened almond milk are all good options.
    • Canola Oil: Any neutral oil can be used. Vegetable oil, grapeseed oil, avocado oil and olive oil are all good options.
    • Frozen Corn: Fresh corn kernels or drained canned corn can be used. I actually prefer fresh corn in these muffins, but I don't always have it on hand. Frozen corn is just as sweet and is always available.
    • Shredded Co-Jack Cheese: Use your favorite cheese! Cheddar, Monterey Jack or Pepper Jack are yummy alternatives.
    • Variations: Add a little spice and add a chopped jalepeno to the batter or a ¼ teaspoon of cayenne pepper. Make it herby and add some fresh basil, thyme, or chives and then add some parmesan cheese on top. Make it fun for the kids and add ⅓ of a hot dog in the center of each muffin before baking. So yummy!
    Cheesy corn bread muffin recipe ingredients.

    How to Make Cheesy Corn Muffins

    1. First, preheat the oven to 400°F and grease a 12 cup muffin pan well with nonstick cooking spray. For best results, do not use paper liners with this recipe.
    2. In a large mixing bowl whisk together the dry ingredients: all purpose flour, cornmeal, granulated sugar, baking powder and salt.
    3. Next, make a well (hole) in the middle of the mixed dry ingredients and add the wet ingredients: milk, canola oil, and egg. Whisk until everything is just combined.
    Wet ingredients added to well in dry ingredients in glass mixing bowl.
    Corn and cheese added to muffin batter in glass mixing bowl.
    1. Now fold in the corn kernels and shredded cheese.
    2. Lastly, using a large cookie scoop or scant ¼ cup evenly distribute the muffin batter among the 12 muffin cups. They'll be about ¾ full.
    3. Finally, bake the muffins for 18-22 minutes until a toothpick inserted comes out clean. My oven takes exactly 20 minutes for these muffins to be perfectly baked.
    Batter in muffin pan.
    Baked muffins in muffin pan.
    1. This last step is extremely important, remove the muffins immediately from the pan once they come out of the oven. Turn the pan over on a clean towel or wire rack and the muffins will easily fall out.
    2. Let the muffins cool or serve them warm.
    Top view of cheesy corn muffins in rows on wire rack.

    What to Serve with these Cheesy Corn Bread Muffins

    These yummy muffins are great served as a side dish to any entree. They are also great as an on the go breakfast, mid day snack or packed in lunches. Here are some of are favorite things to serve them with:

    • Easy 3 Bean Chili
    • Oven Baked BBQ Chicken
    • BBQ MeatloafStoring
    • Instant Pot Pulled Pork
    • Ground Turkey Chili

    If you love corn bread try my Easy Sweet Cornbread Recipe!

    Storing Cheesy Corn Bread Muffins

    Storing: Once the corn bread muffins are cooled place them in an air tight container or zip top bag at room temperature, on the counter, in a bread box or in a cupboard. They will stay fresh for 3-4 days. To keep the muffins longer, simply freeze them.

    Freezing: Put completely cooled corn muffins in a freezer safe airtight container or zip top bag. Label and date the contents and place in freezer. Muffins will last 3-4 months in the freezer. Always make sure to rotate your stock in the freezer.

    Thawing: Simply thaw muffins at room temperature for at least 30 minutes.

    Cheesy corn muffins in a pile on wire rack with one muffin cut in half cut side up with butter on it.

    Heather's Favorite Tools for this Recipe

    • I love these Anchor nesting mixing bowls. All the sizes you could ever need!
    • Long ago, I used to be a Pampered Chef consultant and I still prefer their baking tools and pans to any others. Their muffin pans and loaf pans are the ones I prefer. Find yourself a consultant, host a party and treat yourself to something new. I also like the Food Network muffin pans and baking pans. You can order them online.
    • A large sized scoop that holds about 3 tablespoons is great for these muffins. Again I use the pampered chef one but this large scoop from OXO on Amazon is a great option.

    Tips for Cheesy Corn Muffins Recipe

    • Always fluff your flour, then spoon it into the measuring cup and level off. That way you won't add to much flour and you'll end up with fluffy muffins rather than dense or dry ones.
    • Do NOT over mix the batter, this will make the muffins very tough and not fluffy. Lumpy batter is good batter.
    • Grease the muffin cups well. That way they'll come out of the pan easily.
    • Use a scoop for filling the muffin pans. This helps keep everything even and will ensure even baking throughout.
    • If you want it as bread instead of muffins, bake it in a greased 8x8 baking dish or cast iron skillet for 25-30 minutes.
    Cheesy corn muffins in muffin pan with some muffins on the side.

    More Delicious Muffin Recipes:

    • Banana Chocolate Chip Muffins
    • Chocolate Zucchini Muffins
    • Easy Blueberry Muffins
    • Peanut Butter Muffins
    • Pumpkin Cream Cheese Muffins
    • Applesauce Mini Muffins
    • Strawberry Banana Muffins
    • Apple Pie Muffins
    • Cinnamon Sugar Donut Muffins
    • Peanut Butter Banana Chocolate Muffins

    Did you make this recipe? Rate it!

    If you enjoyed this recipe give it a ⭐⭐⭐⭐⭐ rating in the comments below. It really helps the recipe stand out and I appreciate the feedback to make recipes everyone will enjoy.

    Top view of cheesy corn bread muffins on wire rack with middle muffin cut in half slathered with butter on cut side.
    Print Recipe Pin Recipe
    No ratings yet

    Cheesy Corn Muffins

    These Cheesy Corn Muffins are filled with an abundant amount of shredded cheese and corn kernels. A great side dish to any bowl of chili or backyard BBQ meal!
    Course: Bread/Muffins, Side Dish
    Cuisine: American
    Prep Time: 10 minutes minutes
    Cook Time: 20 minutes minutes
    Servings: 12 muffins
    Author: Heather
    Prevent your screen from going dark

    Ingredients

    • 1½ cups unbleached all purpose flour
    • ½ cup yellow cornmeal
    • ¼ cup sugar
    • 1 tablespoon baking powder
    • ¼ teaspoon salt
    • 1 cup milk
    • ¼ cup canola oil
    • 1 large egg
    • 1½ cups corn, frozen, canned (drained) or fresh
    • 1½ cups shredded co-jack cheese

    Instructions

    • Preheat oven to 400°F and grease a 12 cup muffin pan well with nonstick cooking spray. For best results, do NOT use paper liners.
    • In a large mixing bowl whisk together the dry ingredients: all purpose flour, cornmeal, granulated sugar, baking powder and salt.
    • Make a well (hole) in the middle of the mixed dry ingredients and add the wet ingredients: milk, canola oil, and egg. Whisk until everything is just combined.
    • Fold in the corn kernels and shredded cheese.
    • Use a large cookie scoop or scant ¼ cup and evenly distribute the muffin batter among the 12 muffin cups. They'll be about ¾ full.
    • Bake the muffins for 18-22 minutes until a toothpick inserted comes out clean.
    • Immediately remove the muffins from the pan onto a wire rack or clean towel.
    • Let the muffins cool or serve them warm.

    Nutrition

    Serving: 1 muffin | Calories: 239kcal | Carbohydrates: 27g | Protein: 8g | Fat: 12g | Saturated Fat: 4g | Polyunsaturated Fat: 2g | Monounsaturated Fat: 5g | Trans Fat: 0.04g | Cholesterol: 33mg | Sodium: 270mg | Potassium: 135mg | Fiber: 2g | Sugar: 6g | Vitamin A: 258IU | Vitamin C: 1mg | Calcium: 201mg | Iron: 1mg
    Tried this recipe?Please rate the recipe, leave a comment and tell me how much you loved it!
    Share the Recipe!Please share it and tag @heathershomemadekitchen and use #heathershomemadekitchen!

    More Bread and Muffin Recipes

    • Front view of glazed lemon pound cake with slices stacked in front of loaf and topped with lemon triangle.
      Glazed Lemon Pound Cake
    • Top view of cranberry scones arranged and layered on parchment paper.
      Cranberry Scones
    • Top view of no knead dinner rolls piled into basket with stick of butter and bread knife on side of basket.
      No Knead Dinner Rolls
    • Top view of cranberry walnut quick bread with three slices cut and knife to the side.
      Cranberry Walnut Bread

    Reader Interactions

    Leave a comment Cancel reply

    Your email address will not be published. Required fields are marked *

    Recipe Rating


    Primary Sidebar

    Headshot of Heather.

    Hi! I’m Heather, I create and develop easy, from scratch recipes that are family friendly! I especially love to make cookies!

    More About Me...

    Easter Recipes

    • Close up top view of iced oatmeal cookies in pile with focus on top cookie.
      Iced Oatmeal Cookies
    • Top view of creamy fruit salad in round white serving bowl.
      Creamy Fruit Salad
    • Top view of lemon poppy seed cookies with center cookie garnished with triangle of lemon and sitting next to wire rack.
      Lemon Poppy Seed Cookies
    • Close up top view of summer fruit salad in white serving bowl.
      Summer Fruit Salad

    Cookie Recipes

    • Chocolate chip m&m cookies on wire rack in in pile in front of rack with one cookie cut in half.
      Chocolate Chip and M&M Cookies
    • Pile of peanut butter chocolate chip cookies.
      Chocolate Chip Peanut Butter Cookies
    • Frosted lucky cookie layered on top of another cookie.
      Frosted Lucky Cookies
    • Triple chocolate chip cookies staggered and layered on parchment paper.
      Triple Chocolate Chip Cookies

    Popular Recipes

    • Close up side view of Oven roasted BBQ chicken slices.
      Oven Roasted BBQ Chicken
    • Close up top view of skillet mexican street corn garnished with lime wedges in cast iron skillet with wooden serving spoon on the side.
      Skillet Mexican Street Corn
    • Chicken dumpling soup in white bowl in front of red pot of soup.
      Chicken Dumpling Soup
    • Top view of egg bake casserole in baking dish with one piece out and spatula under another piece.
      Ham Egg and Cheese Bake

    Footer

    ↑ back to top

    Disclosure - Privacy Policy - Terms and Conditions | About

    As an Amazon Associate I earn from qualifying purchases at no extra cost to you. Click HERE to read my policies.

    Copyright © 2025 - Heather's Homemade Kitchen - Seasoned Pro theme

    Rate This Recipe

    Your vote:


    A rating is required
    A name is required
    An email is required