
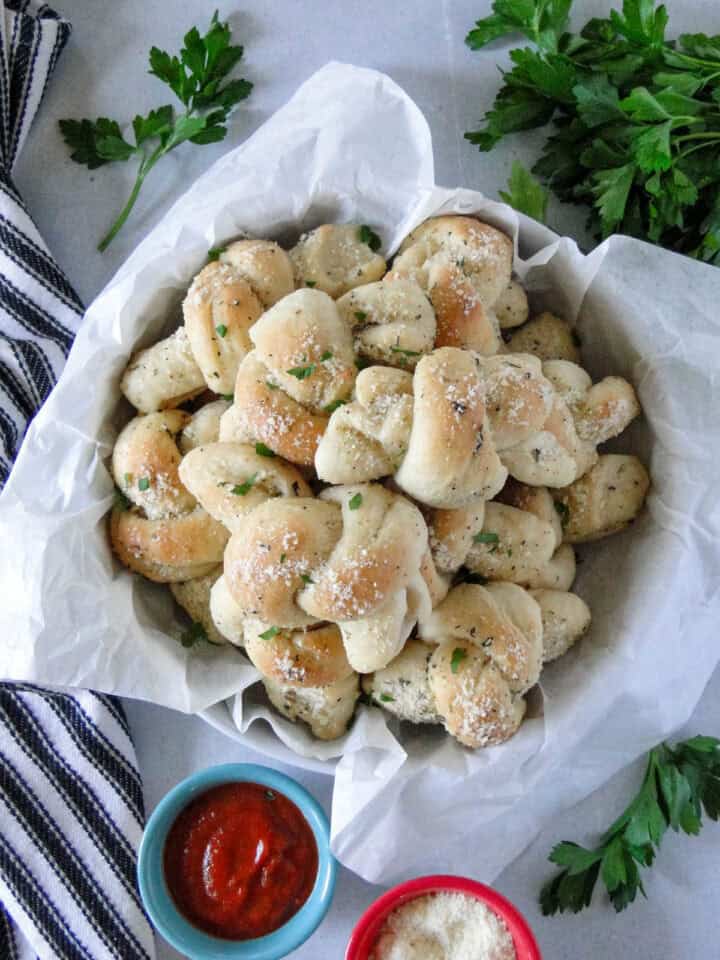
Homemade Garlic Knots are an easy addition to dinner with soft, fluffy centers and plenty of buttery garlic flavor. They have quickly become a family favorite in our house, especially when there is pasta or soup on the menu.
This post may contain affiliate links. As an Amazon Associate I earn from qualifying purchases at no extra cost to you. Click HERE to read my policies.
I have been cooking since I was 14, with experience in restaurant kitchens and decades of practice cooking and baking at home. My family has been my longtime crew of taste testers, and I only share recipes I have made, tested, and truly loved. These garlic knots passed the test and disappeared fast, which is always a very good sign!
Why We Love This Garlic Knots Recipe
- They are easy to make with simple steps.
- Bake up soft and fluffy with golden edges.
- Every bite is packed with buttery garlic flavor.
- Pair perfectly with pasta, soup, and so many other dinners.
- A fun alternative to regular dinner rolls or garlic bread.
- A family favorite, making them perfect for weeknight dinners or special meals.
- Impressive enough for guests but still easy enough for a regular dinner.
- Leftovers reheat well, so you can enjoy them again the next day.
- They are easy to make ahead when you want to get part of dinner prepped early.
- Warm garlic knots have that irresistible pull-apart texture that makes it hard to stop at just one.
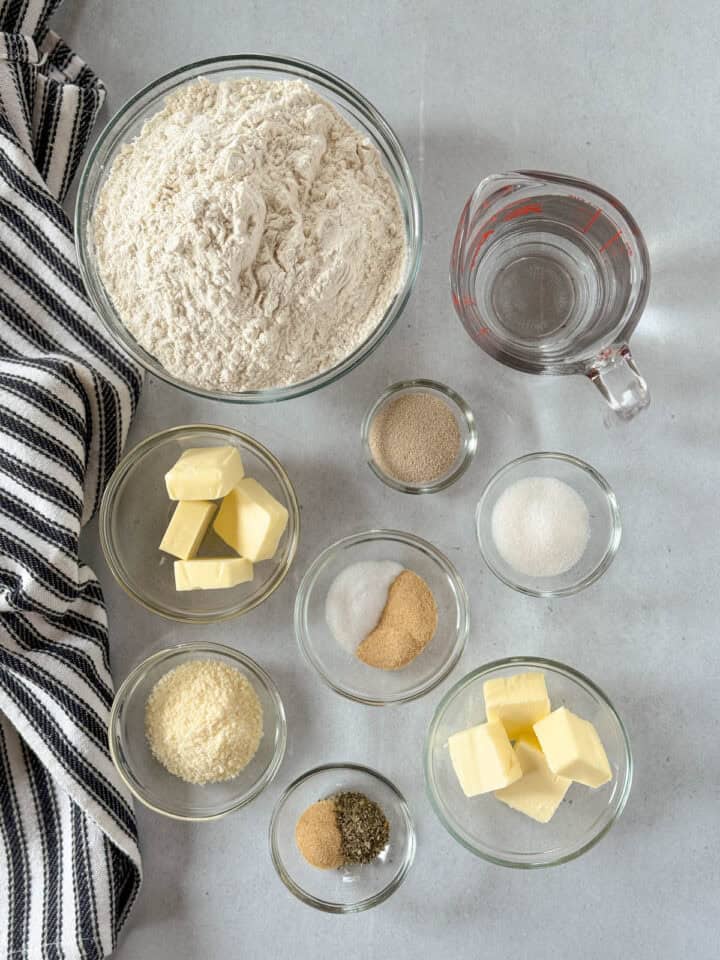
Homemade Garlic Knots Recipe Ingredients
- Warm Water
- Quick Rise Yeast
- Salted Butter
- White Sugar
- Garlic Powder
- Salt
- Bread Flour
- Italian Seasoning
- Grated Parmesan Cheese
Substitution Suggestions
- Water: You can use milk, but I liked the flavor and texture better when water was used.
- Quick Rise Yeast: Dry active yeast can be used, but the rise time will be a lot longer.
- Salted Butter: Unsalted butter can be subbed, but I recommend adding an additional ¼ teaspoon of salt to the dough and butter topping.
- Sugar: Honey can be substituted.
- Bread Flour: You can use all purpose flour if you like. The bread flour gives the knots the best chewy texture. All purpose flour will make the garlic knots a bit more soft.
- Grated Parmesan Cheese: I prefer to use freshly grated parmesan because it has the best flavor. However, in a pinch you can absolutely use the stuff in the green can!
How to Make Homemade Garlic Knots
- In a bowl of stand mixer or large mixing bowl, combine warm water and quick rise yeast. Let it sit for 5 minutes.
- Then using the dough hook or a wooden spoon/rubber spatula, stir in the sugar, garlic powder, salt, and 1 cup of the bread flour.
- Stir in another cup of flour, followed by another cup of flour. Then test your dough. A good way to test if you have enough flour is to pinch the dough with your fingers, the dough should be smooth and a tad tacky, but it should not stick to your fingers when pinched.
- If the dough is still too sticky, add 1 tablespoon of additional flour at a time until its no longer sticky but just a bit tacky.
- Once the dough has enough flour, bump up the speed on the stand mixer to medium (level 2 or 3 only, anything higher can damage your mixer) and let the dough knead for 2 minutes. Or knead it by hand on a lightly floured surface until smooth.
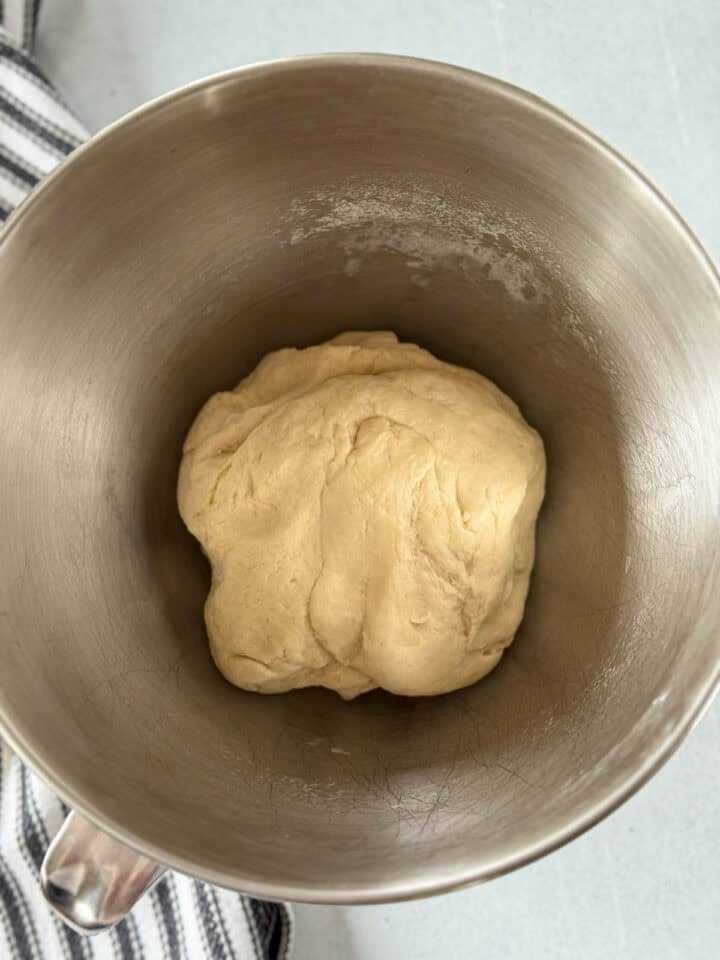
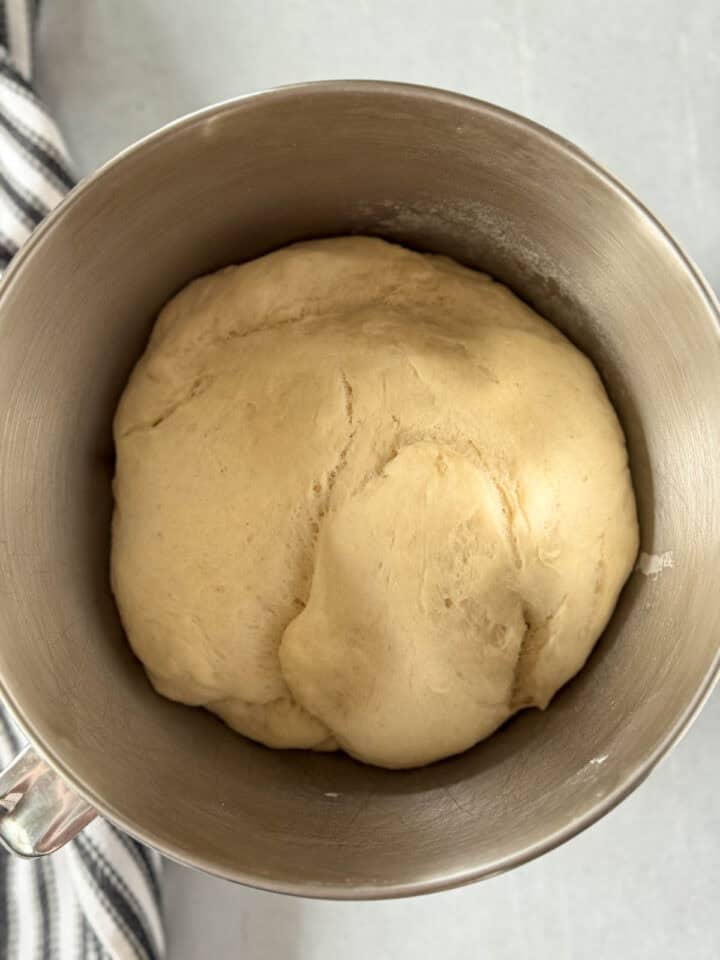
- Place the dough in a lightly oiled bowl, cover with clean towel or plastic wrap. Place bowl in a warm, draft free area to rise for 30-45 minutes, until it has doubled in size.
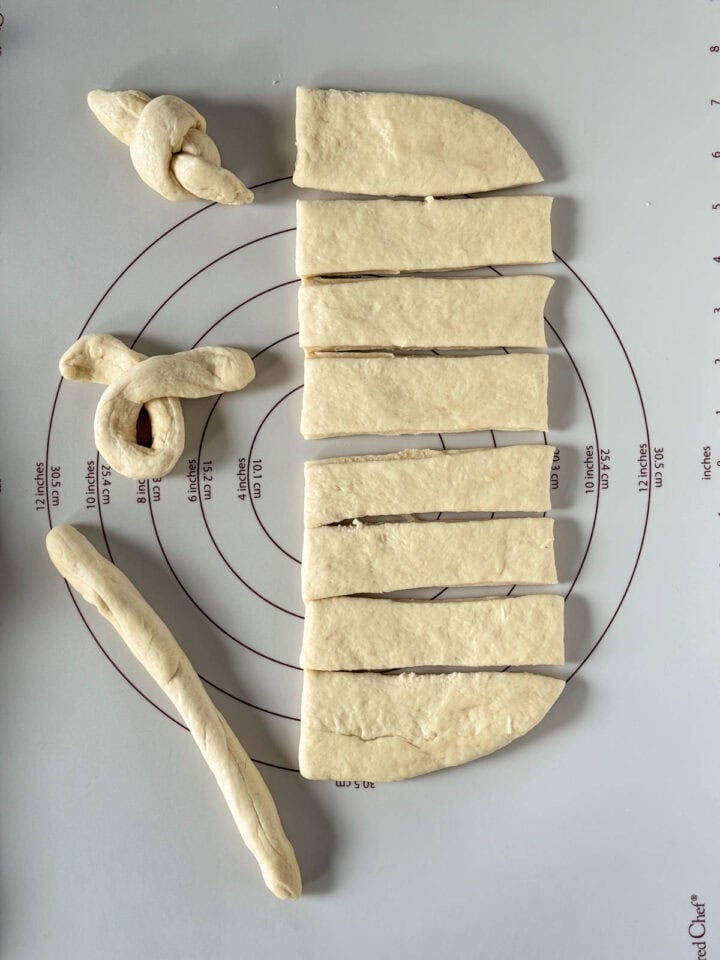
- After it has doubled, turn the dough out onto a lightly floured surface. Using your hands, shape the dough into a rectangle and use a dough cutter to cut it into 16 equal pieces.
- Roll the pieces into 8 inch ropes, tie into knots and place on a large baking sheet lined with parchment paper.
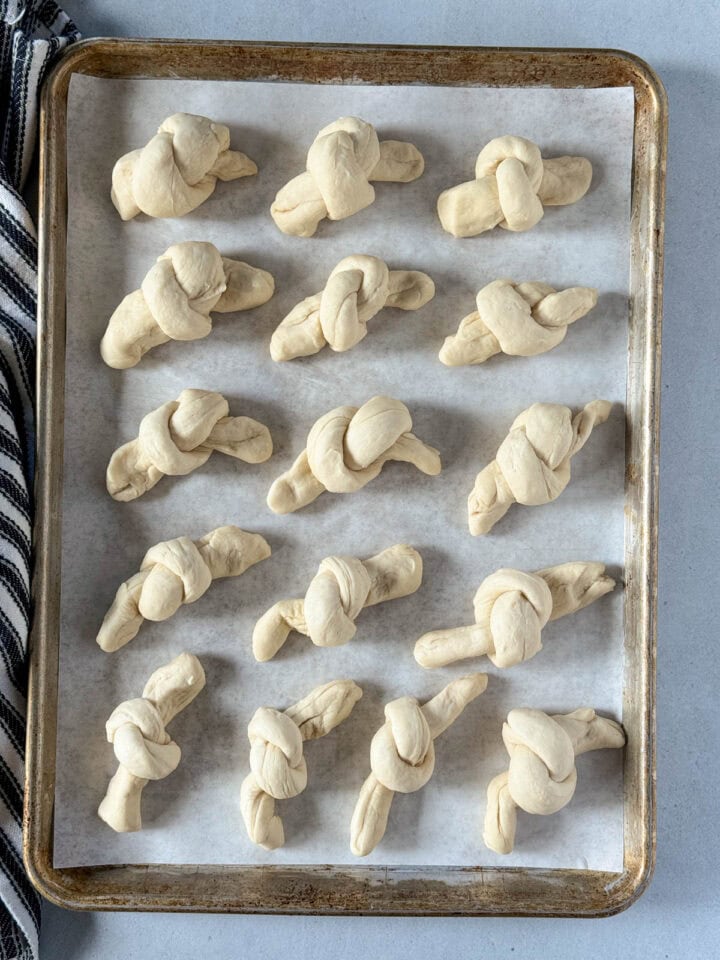
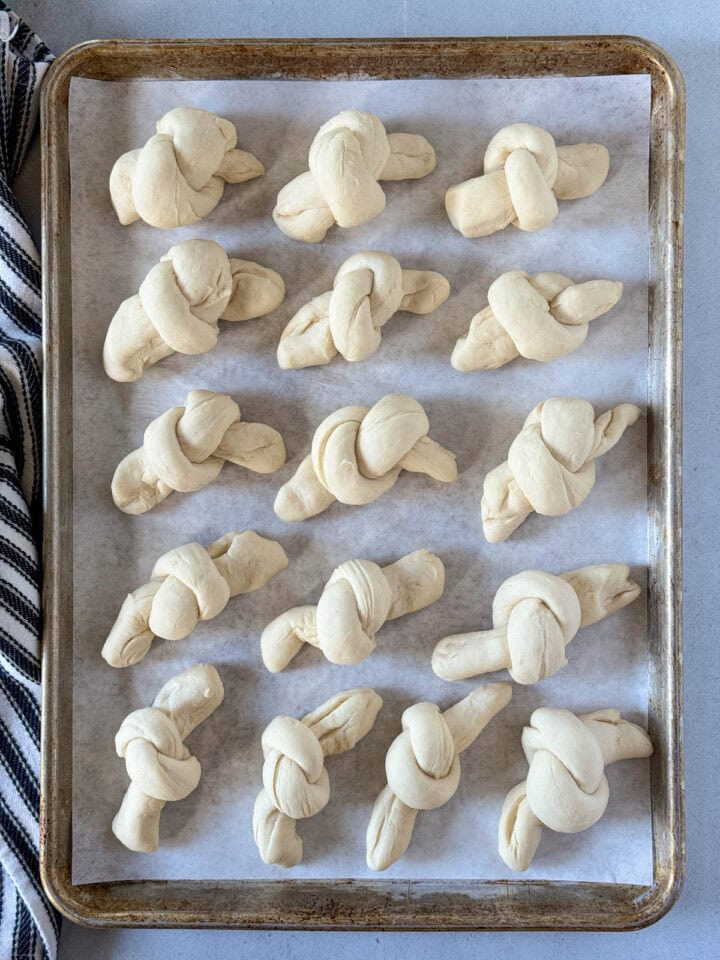
- Once all the knots are tied, let them hang out on top of stove while the oven preheats to 425°F, or at least 15-20 minutes until they are puffy.
- Then bake the breadsticks for 10-15 minutes until light golden brown and when tapped they sound hollow. The internal temperature should be 200°F.
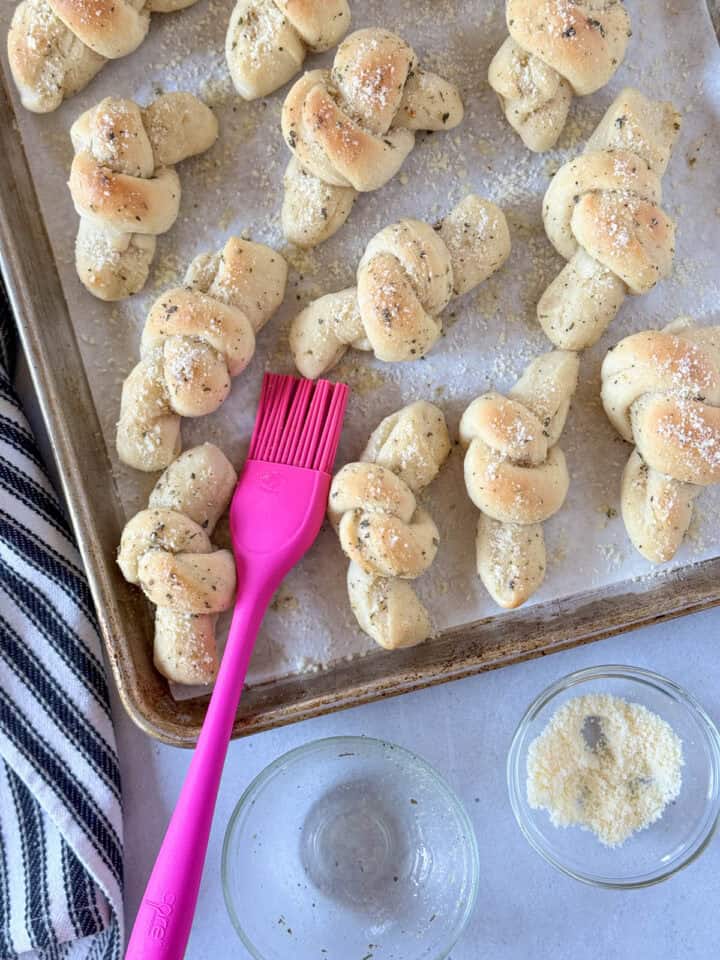
- While the knots are baking, melt butter and mix it with the garlic powder and Italian Seasoning.
- Immediately brush the breadsticks with garlic butter, sprinkle with grated Parmesan and serve!
How to Tie Garlic Knots
Tying the dough into knots is easy. Think of it as the first step of tying your shoes, just cross one end over the other and pull it through.
So you will, cross one end of the dough rope over the other, then tuck the end through the center to form a knot. Then you can tuck the ends under if you like or just leave them. I always just leave them, it's faster that way.
Make Ahead Instructions
To make these garlic knots ahead of time, follow the recipe through shaping and tying the dough into knots. Once they are all shaped, cover the pan tightly with plastic wrap and refrigerate for up to 2 days. When you are ready to bake, remove the knots from the fridge and let them sit at room temperature for 30 minutes to 1 hour (this will depend on the temperature of your house), or until they have warmed up and puffed slightly. Then bake according to the recipe directions.
What to Serve with Garlic Knots
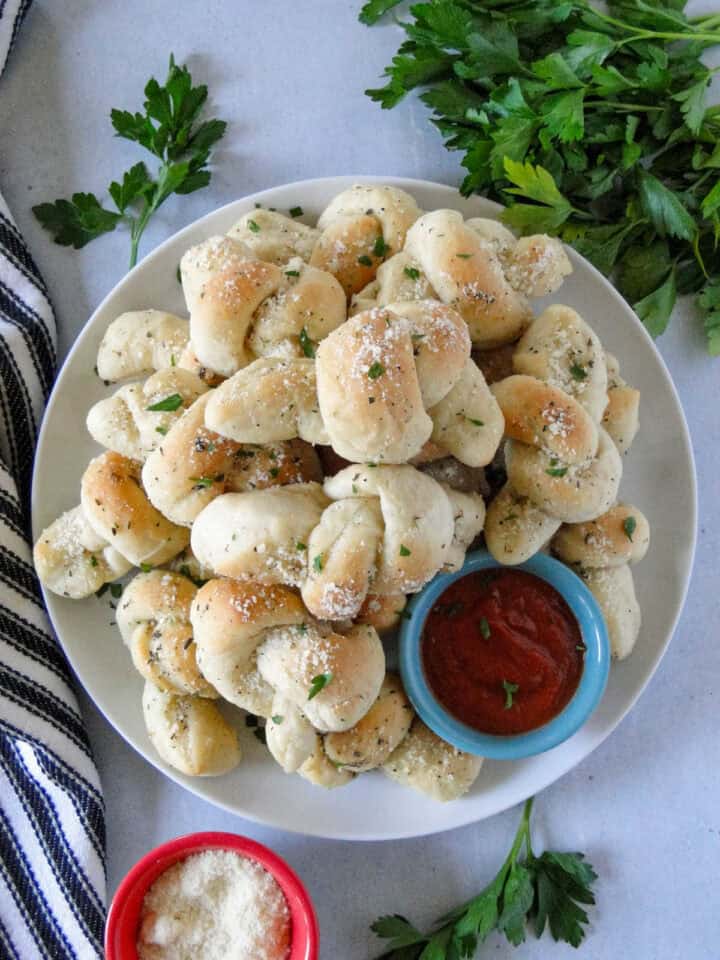
These homemade garlic knots are the perfect addition to so many dinners and make just about any meal a little more delicious. Here are a few of our family favorites to serve them with:
- Instant Pot Spaghetti and Meat Sauce
- Beef Stew
- Baked Pumpkin Pasta
- Chicken Wild Rice Soup
- Homemade Lasagna
If you love baking homemade bread, you will definitely want to try a few more of my easy favorites. My Homemade Garlic Breadsticks and Easy Dinner Rolls are both delicious, dependable recipes that pair perfectly with just about any meal.
Storing Garlic Knots
Storing: Store any leftover garlic knots in an air tight zip top bag on the counter or in the fridge. They'll last 3-4 days on the counter and up to a week in the fridge.
Freezing: These garlic knots are freezer friendly! Place cooled breadsticks in a freezer safe air tight zip top bag. Label, date and freeze. They'll last up to 4 months in the freezer. To thaw them, simply let them sit at room temp for a few hours.
Reheating: Place garlic knots in a single layer wrapped in aluminum foil. Reheat in a 350°F oven for 10-15 minutes until warmed. Brush the breadsticks with extra garlic butter if needed. Or you can reheat them for about 20 seconds in the microwave.
Heather's Favorite Tools for this Recipe
- I don't think I could live without my KitchenAid Stand Mixer. It's the best tool ever for making bread, other baked goods, frostings and so many other things.
- These nestled mixing bowls are my favorite for prepping ingredients.
- I love a good pastry mat for easy clean up. I have the Pampered Chef but this pastry mat is great too!
- Long ago, I used to be a Pampered Chef consultant and I still prefer their baking tools and pans to any others. Their pans are the ones I prefer. Find yourself a consultant, host a party and treat yourself to something new.
Tips for Homemade Garlic Knots
- Don't boil the water. You want it to be just warm so it doesn't kill the yeast. A perfect temperature is not over 115°F. I never take the temperature I just use warm tap water.
- Make sure your yeast is still good. If it is old or expired it won't work properly. I keep my yeast in the freezer and it lasts a long time.
- Fluff your flour before measuring. Then spoon and level off as you measure. This will help make sure there isn't too much flour added which can make them dense or dry.
- For a quicker rise, preheat your oven to 175°F. When the dough is ready to rise, shut the oven off and place the covered dough in the oven to rise. It will only take 15-20 minutes to rise this way.
More Easy Bread Recipes:
Did you make this recipe? Rate it!
If you enjoyed this recipe give it a ⭐⭐⭐⭐⭐ rating in the comments below. It really helps the recipe stand out and I appreciate the feedback to make recipes everyone will enjoy.
Homemade Garlic Knots
Ingredients
- 1 cup warm water
- 2 ¼ teaspoons quick rise yeast, or 1 packet (.25 oz)
- ¼ cup salted butter, melted
- 1 tablespoon white sugar
- 1 ½ teaspoons garlic powder
- 1½ teaspoons salt
- 3 cups bread flour
Garlic Butter Topping
- ¼ cup salted butter, melted
- ½ teaspoon garlic powder
- ½ teaspoon Italian seasoning
- 2 tablespoons grated Parmesan cheese
Instructions
- In a bowl of stand mixer or large mixing bowl, combine warm water and quick rise yeast. Let it sit for 5 minutes.
- Then using the dough hook or a wooden spoon/rubber spatula, stir in the sugar, garlic powder, salt, and 1 cup of the bread flour.
- Stir in another cup of flour, followed by another cup of flour. Then test your dough. A good way to test if you have enough flour is to pinch the dough with your fingers, the dough should be smooth and a tad tacky, but it should not stick to your fingers when pinched. If the dough is still too sticky, add 1 tablespoon of additional flour at a time until its no longer sticky but just a bit tacky.
- Once the dough has enough flour, bump up the speed on the stand mixer to medium (level 2 or 3 only, anything higher can damage your mixer) and let the dough knead for 2 minutes. Or knead it by hand on a lightly floured surface until smooth.
- Place the dough in a lightly oiled bowl, cover with clean towel or plastic wrap. Place bowl in a warm, draft free area to rise for 30-45 minutes, until it has doubled in size.
- After it has doubled, turn the dough out onto a very lightly floured surface (If using a pastry mat you probably won't need any flour). With your hands, shape the dough into a rectangle and using a dough cutter, cut it into 16 equal pieces.
- Roll the pieces into 8 inch ropes, tie into knots and place on a large baking sheet lined with parchment paper.
- Once all the knots are tied, let them hang out on top of stove while the oven preheats to 425°F, or at least 15-20 minutes until they are puffy.
- Then bake the breadsticks for 10-15 minutes until light golden brown and when tapped they sound hollow. The internal temperature should be 200°F.
Garlic Butter Topping
- While the knots are baking, melt butter and mix it with the garlic powder and Italian Seasoning.
- Immediately brush the breadsticks with garlic butter, sprinkle with grated Parmesan and serve!



Leave a comment